Isobenefit Urbanism QGIS Plugin
Applying Isobenefit Urbanism to real-world datasets with QGIS
Concept
The Isobenefit Urbanism QGIS plugin is a tool for brainstorming walkable urban development against real-world datasets. The algorithm is based on walkable access to centralities (shops, services) and green spaces.
Sources
The Isobenefit Urbanism QGIS plugin is an adaptation of the Isobenefit Cities codebase to work with QGIS. The work is based on the Isobenefit Urbanism concept by Luca D'Acci, with the original Python code developed by Michele Voto.
The project is an initiative of the Future Urban Growth Lab at UCL Bartlett Planning, with the team presently consisting of Tommaso Gabrieli, Luca D'Acci, Heeseo Kwon (Rain), Stephen Marshall, Valentina Marin Maureira, and Gareth Simons.
The code developed as part of this project is open source and can be found in the BSP-isobenefit-qgis-plugin Github repository. The code for this webpage can be found in the BSP-isobenefit-urbanism repo. These resposotires are developed and maintained by Gareth Simons.
Example
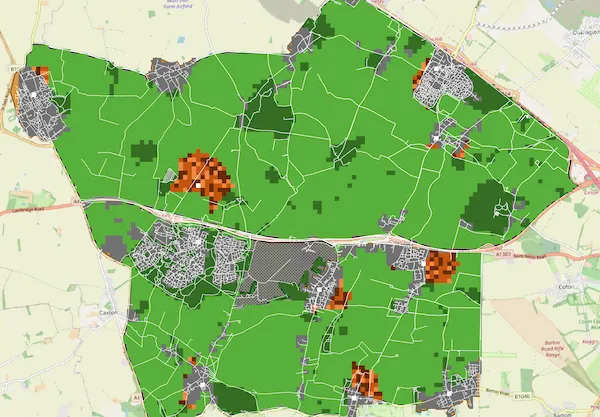
This example is strictly hypothetical for the purpose of demonstrating how this plugin works. In real-world usage the plugin is used as part of an exploratory dialogue under the supervision of local planners.
How it works
Isobenefit Cities is based on a Cellular Automata: A grid of cells represents the current state of land-development for a given geographic extent. An algorithm explores the grid and applies a set of rules to determine when a cell's state can be changed. This procedure is repeated a specified number of times, resulting in a series of time-steps representing how development might unfold for a given dataset and set of input parameters.
How built areas are expanded
The following series of images details (in a simplified form) how the algorithm determines whether or not an undeveloped parcel of land can be developed.


How centralities are seeded
New centralities can be seeded in one of two scenarios. In both cases, a probability parameter is used to control how readily these scenarios would lead to the seeding of a new centrality.


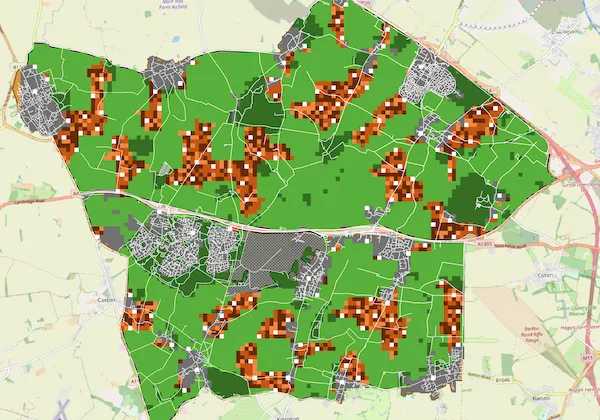
Application to real-world datasets
When applying the Cellular Automata algorithm to real world datasets, it becomes possible to take existing spatial constraints into account. The plugin consequently takes the following forms of layers as inputs:
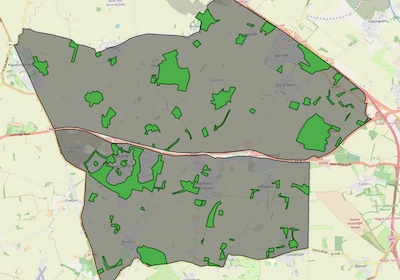
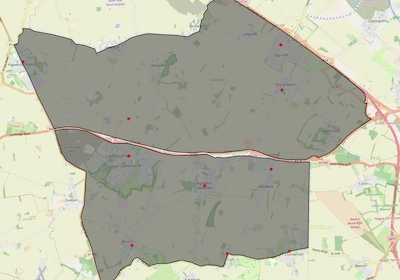
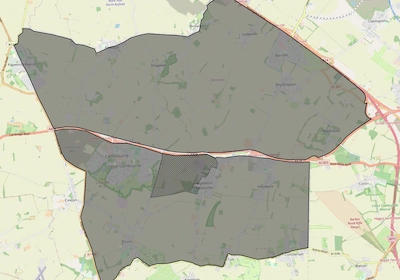
- extents available for development
- existing built areas
- green areas (to be preserved)
- urban centralities (e.g. shops, services)
- land deemed unbuildable

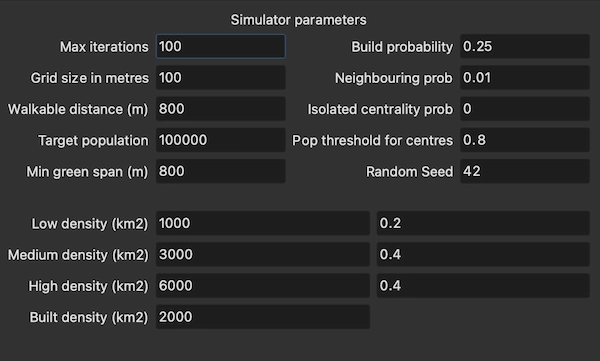
The plugin window provides an interface for configuring the simulation parameters and for specifying the layers against which the Cellular Automata will run. These parameters include options for controlling the density levels of new development and the manner in which new centralities should be added.
Example Scenarios
The plugin allows for experimentation with different scenarios and configuration options.
Scenario 1
This scenario shows the impact of the "pop threshold for centres" parameter. The left scenario sets this parameter to 0, with the implication that no new centralities are added, whereas the right scenario sets this parameter to 0.8, therefore allowing new centres to be added while the total population remains below 80% of the target population count.

Scenario 2
This scenario shows the impact of changing the unbuildable extents layer.

Scenario 3
This scenario shows the impact of the "Walkable Distance" parameter. The left scenario sets this parameter to 400m whereas the right scenarioo uses 800m. As a result, the left-hand scenario spaces centralities closer to each other and prompts narrower bands of development so that green space remains within nearer proximity.